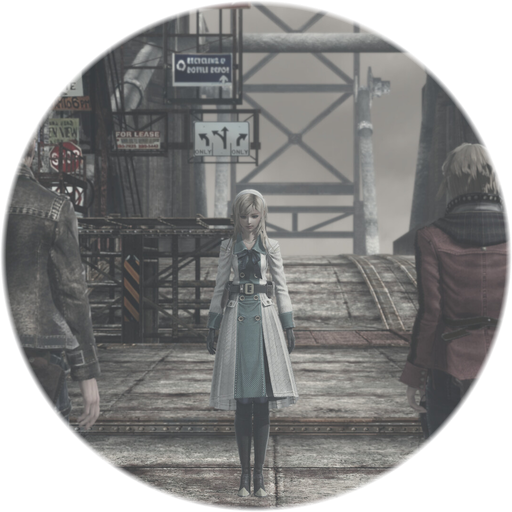

- Colored energy hexes drop from battles — target enemies via the bestiary and matching arena ranks.
- Linked terminal networks stack drop-rate and EXP multipliers (community-documented up to 1.5x each).
- Smackdowns and bonus shots force extra gold/silver chip drops and bezel shards.
Introduction to Map Expansion and Resource Management
Navigating the clockwork world of Resonance of Fate requires careful territorial planning, and mastering Resonance of Fate hex farming is essential for late-game success. Whether you are preparing to tackle the grueling depths of Neverland or hunting down elusive achievements, running low on map tiles can bring your progress to a screeching halt.
Efficient Resonance of Fate hex farming ensures you always have a healthy surplus of colored tiles to unlock terminals, connect energy grids, and open up vital pathways across Basel’s multi-layered map. By combining targeted enemy encounters with optimal terminal setups, you can turn resource scarcity into an endless stream of valuable materials.
Setting Up Your Farming Pipeline
Before diving into active tile collection, you need to establish a high-yielding operational base. Community reports and veteran player experience suggest that preparing your terminal connections early on drastically increases your overall efficiency.
| Setup Phase | Location / Requirement | Active Bonus / Effect |
|---|---|---|
| Arena Milestone | Reach & Unlock Rank 50 | Unlocks high-tier combat challenges and advanced enemy spawns. |
| Terminal Link 1 | Floor 4 (Hughes Power Station) | Connects power grids toward the elevator and Arena entrance. |
| Terminal Link 2 | Level 6 (Patertopolis area) | Boosts drop rates and experience multipliers across linked zones. |
| Multiplier Bonus | Combined Grid Activation | Yields a 1.5x drop rate, 1.5x EXP, and doubles active terminal effects. |
Equipping your party members with extra drop-rate amulets before heading into these loops will ensure your inventory overflows with tiles and rare components as you play.
Where and How to Acquire Specific Hex Colors
While general map exploration yields plenty of basic tiles, specific colors often require targeted hunting. If you find yourself bottlenecked by a particular hue, wandering aimlessly through upper-level dungeons won’t cut it.
Targeting Human Enemies and Mafia Groups
According to community findings, lower-level random encounters against human adversaries—particularly mafia groups—offer reliable tile drops. However, if you are looking for a precise color without burning through countless elevator rides, the Arena is your best friend.
| Enemy Type | Primary Source Location | Recommended Strategy |
|---|---|---|
| Human Opponents | Arena / Lower-Level Maps | Equip drop-rate boosters; break armor shields quickly. |
| Mechanical Units | Late-Game Areas & Arena | Focus down heavy targets for high-tier crafting drops. |
| Wild Animals | Arena Ranks 25–30 | Fast kills for resource conversion and quick cleanup. |
Always cross-reference the shiny bestiary book in your safehouse to locate specific enemy drops before jumping into a specific Arena rank. For a comprehensive overview of community-tested mechanics, check out the official Steam Community Hub for Resonance of Fate.
Maximizing Combat Efficiency: Smackdowns and Bonus Shots
Gathering resources isn’t just about killing enemies—it’s about how you dispatch them. Advanced combat maneuvers can force foes to drop valuable currency chips and rare materials that speed up your overall progression.
[SMG Charge] ---> [Launch Enemy Into Air] ---> [Smackdown / Aerial Attack] ---> [Bonus Drops & Bezel Shards]Utilizing your Submachine Gun (SMG) user to charge straight at enemies can launch them into the air. Following up with a precise aerial descent or coordinated tri-attack triggers a smackdown.
- Drop Generation: Smackdowns and bonus shots force opponents to drop gold and silver chips.
- Hero Gauge Recovery: Forcing enemies down can also yield bezel shards, allowing you to repair your hero gauge mid-fight.
- Shield Breakdown: Stripping enemy defenses efficiently sets up safe zones for secondary weapon experience grinding.
Balancing Resource Farming with Character Progression
Farming hexes rarely happens in isolation; you will often need to level up your weapon types and bank some cash simultaneously. Structuring your rotation prevents burnout and keeps your squad strong.
| Resource Goal | Optimal Location | Primary Objective |
|---|---|---|
| Currency & Chips | Arena Ranks 25–30 | Hunt low-level animal types for high-value meat drops and fast cash conversion. |
| Gun & Grenade EXP | Arena Rank 45-3 | Exploit high-HP static turrets and cannons for massive single-hit damage gains. |
| SMG Leveling | Arena Ranks 46–47 | Target AN and GA soldiers for high health pools without excessive shield interference. |
| Hex & Material Grinds | Bestiary-Linked Arena Ranks | Match target drops with active drop-rate multipliers to farm tiles effortlessly. |
Related Guides
Leveling Guide
See Leveling Guide for weapon-level progression and farms.
New Game Plus
See New Game Plus for carryovers and harder cycles.
Arena Guide
See Arena Guide for arena ranks, rewards and grinding loops.
FAQ
What is the fastest way to get more hexes in Resonance of Fate?
The most reliable method is utilizing the Arena after checking your bestiary for specific enemy drop types. Pairing these hunts with active drop-rate terminal multipliers and drop-boosting accessories maximizes your tile intake per run.
Why do I need to connect terminals before farming?
Connecting terminals near Hughes Power Station and Patertopolis provides massive multipliers to your item drop rates and experience gains, turning standard farming runs into high-yield sessions.
Can I farm hexes effectively in the early chapters?
While early-game exploration provides enough tiles for basic progression, serious Resonance of Fate hex farming becomes much more efficient once you unlock the Arena and access mid-to-late-game map layers.